
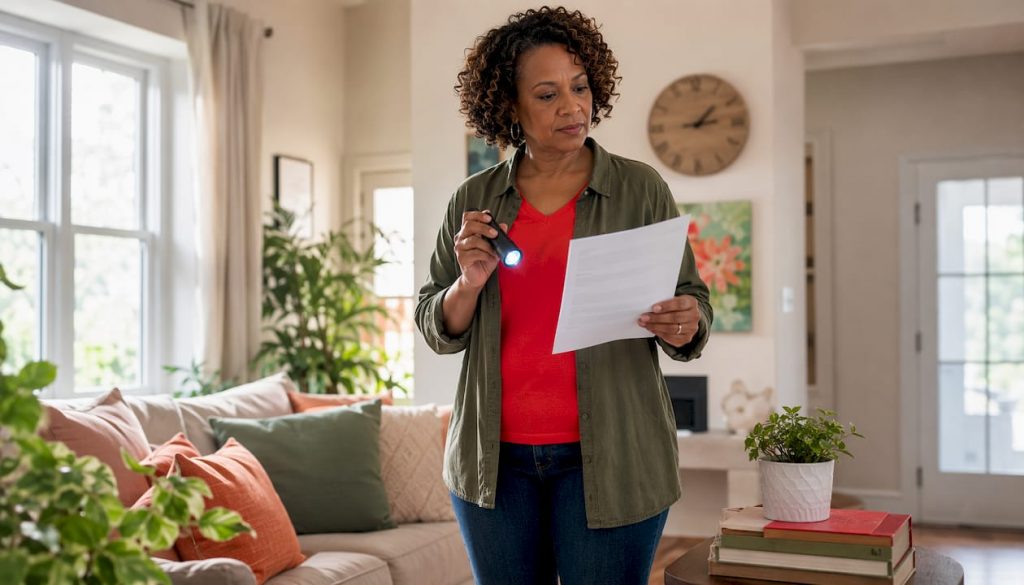
Discover effective home security tips that boost safety without breaking the bank. Simple actions can protect your home today!
Locking every door and window, reinforcing your main entry’s strike plate, switching on motion-activated exterior lighting, and keeping vacation plans off social media are the four inexpensive moves that deliver the highest security return on investment. Most burglars are opportunists who exploit unlocked entries rather than determined professionals, which means simple habits and basic mechanical upgrades stop the vast majority of break-in attempts before they start. You can complete several of these right now, in under ten minutes.
Start with these six actions today:
- Lock every door and window — including interior garage doors. Time: 2 minutes.
- Check your main exterior door’s strike plate — if it’s secured with short screws, it can be kicked in with one blow. Time: 5 minutes to inspect, 20 minutes to fix.
- Test or install motion-activated exterior lighting — outdoor lighting is one of the highest-impact deterrents per dollar spent, with recommended fixtures running $30–$60 each. Time: 30 minutes to install.
- Bring in or hide visible packages — a porch full of boxes signals an empty house. Time: 1 minute.
- Remove spare keys from obvious hiding spots — under the mat, in a fake rock, above the door frame. Use a lockbox with a code instead. Time: 2 minutes.
- Walk the perimeter of your home — look for dark corners, overgrown shrubs near windows, and unlocked side gates. Time: 10 minutes.
For a deeper look at proven home security practices, our team at Lizard’s Lunch has put together a full visual reference to complement what you’ll find below.
Table of Contents
- What are the best home security tips ranked by impact per dollar?
- Why layering your defenses makes every measure more powerful
- How to run a DIY home security audit in 10 minutes tonight
- When should you hire a locksmith or security professional?
- Key Takeaways
- Our team’s take on balancing cost and real protection
- Authoritative sources and further reading
What are the best home security tips ranked by impact per dollar?
Most security guides bury the best advice under expensive product recommendations. The list below ranks by impact-per-dollar, so you can start at the top and work down as your budget and schedule allow.
1. Lock everything, every time
The habit costs nothing. Walk through your home right now and confirm every exterior door, window, and sliding panel is locked. Set a routine — last one out checks all points. Cost: $0. Time: 2 minutes.
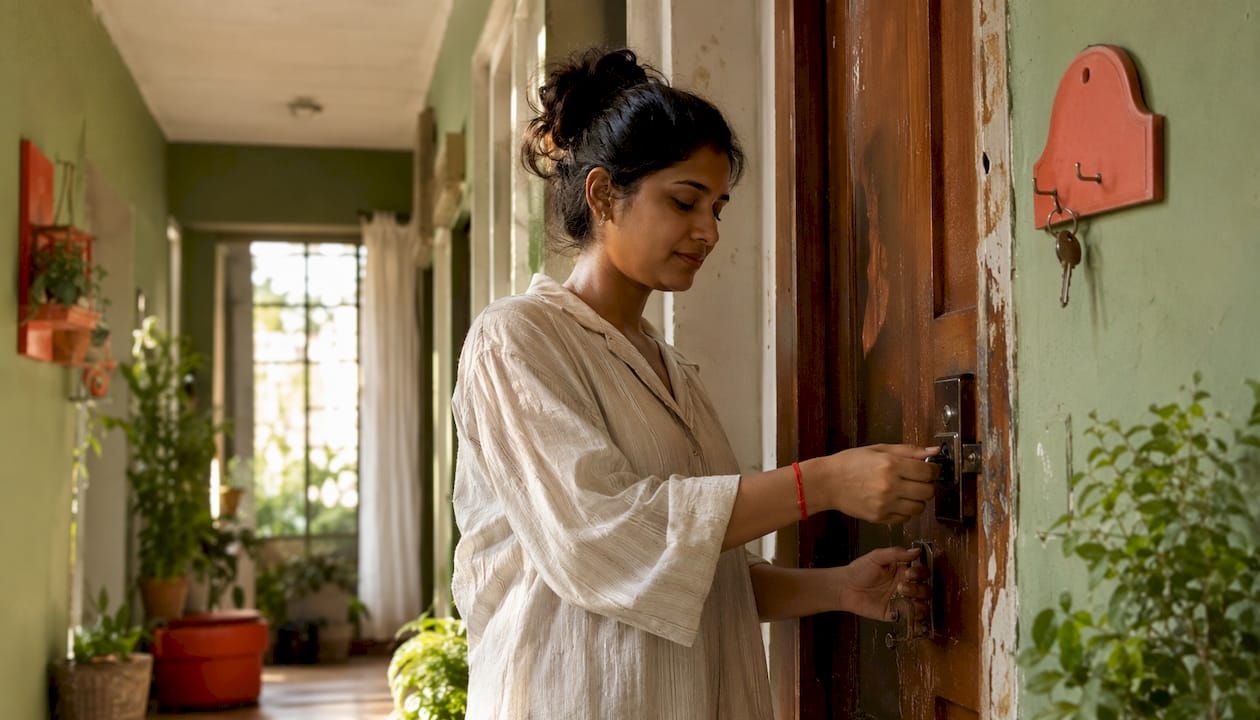
2. Upgrade to an ANSI Grade 1 or Grade 2 deadbolt
Standard builder-grade locks offer minimal resistance. An ANSI Grade 1 deadbolt (the highest residential rating) withstands significantly more force. Brands like Schlage and Kwikset both offer Grade 1 options for $50–$100 per lock. Cost: $50–$100. Time: 30–45 minutes per door.
3. Reinforce your strike plate with 3-inch screws
This is the single most cost-effective upgrade you can make. A standard strike plate uses 3/4-inch screws that grip only the door frame, not the wall stud behind it. Replacing it with a reinforced strike plate secured with 3-inch screws that reach into the stud dramatically increases kick-in resistance. The hardware costs under $20.
Pro Tip: Buy a heavy-duty door reinforcement kit (around $20–$30) that combines a reinforced strike plate, door edge guard, and hinge bolts. It takes about 45 minutes to install and turns a hollow-feeling door into a genuinely solid barrier.
Cost: $15–$30. Time: 20–45 minutes.
4. Replace hollow-core exterior doors
If your exterior door sounds hollow when you knock on it, it can be breached quickly. Solid-wood or steel-core exterior doors are the standard; if a full replacement isn’t in the budget yet, a door reinforcement kit (see above) buys meaningful time. Cost: $200–$600 installed. Time: 1–2 days with a contractor.
5. Secure sliding glass doors
Sliding doors often have flimsy factory locks and can be lifted off their tracks with minimal effort. Two fixes work together: drop a solid wooden dowel or commercial security bar into the track to prevent sliding, and install anti-lift brackets to stop the door from being lifted out. Both fixes cost under $15 combined.
Pro Tip: A cut-down broom handle works as a temporary track block tonight. For a permanent fix, pick up a commercial security bar at any hardware store for around $10.
Cost: $5–$15. Time: 10 minutes.
6. Add window locks and security film
Keyed window locks and sash locks are available for every window type and cost $5–$15 each. Security film (applied like a screen protector) holds broken glass in place, slowing entry and creating noise. The Insurance Information Institute notes that if it takes a burglar more than four or five minutes to break in, they’ll move on. Film buys that time. Cost: $5–$15 per window lock; $30–$80 for a roll of security film. Time: 15–30 minutes per window.
7. Install motion-activated exterior lighting
Dark corners and unlit approaches are a burglar’s best friend. Motion-activated lights flood those areas instantly, creating both a deterrent and a signal to neighbors. Position them at all entry points, the driveway, and any side gates. Cost: $30–$60 per fixture. Time: 30–60 minutes per light.
8. Apply the two-and-six landscaping rule
Keep shrubs trimmed below two feet and tree canopies pruned above six feet. This removes hiding spots while keeping your yard looking great. Bonus: plant thorny bushes like hawthorn or barberry directly under ground-floor windows. They’re beautiful and deeply uninviting to anyone trying to approach quietly. Cost: $0 (if you own a trimmer) to $150 for a landscaping session. Time: 1–2 hours.
9. Place visible deterrents strategically
Visible alarm signs, yard signs, and cameras cause a meaningful share of offenders to bypass a property entirely. You don’t need a fully installed system to benefit from this effect — a visible camera (even a basic one) and a yard sign from a monitored service work as psychological deterrents. Position cameras at eye level near entry points so they’re clearly visible. Cost: $0–$50 for signage; $30–$150 for a basic visible camera. Time: 30 minutes.
10. Secure the garage, sheds, and ladders
An attached garage is often the weakest link. Padlock the door between the garage and the house, secure the garage door’s emergency release cord (a zip tie prevents it from being triggered with a wire hanger), and lock ladders to a fixed structure so they can’t be used to access upper-floor windows. Cost: $10–$30. Time: 20 minutes.
11. Manage packages, mail, and digital privacy
A pile of packages on the porch is a vacancy sign. Simple habits like scheduling deliveries, using Amazon Hub lockers, or asking a neighbor to collect parcels cost nothing. Equally important: avoid posting real-time vacation photos or travel plans on social media until you’re back home. Cost: $0. Time: 5 minutes to set up delivery preferences.
12. Use smart locks with code management
Smart locks let you assign unique codes to family members, dog walkers, or contractors and delete them instantly when no longer needed. They eliminate the risk of copied keys and let you check lock status remotely. Look for models with ANSI Grade 1 ratings and cellular backup. For a side-by-side look at DIY alarm and lock options, our comparison guide covers the leading kits in detail. Cost: $100–$250 per lock. Time: 30–60 minutes to install.
A note on camera placement: Recording video in public-facing areas (driveways, front yards) is generally permitted, but audio recording laws vary by state. Check your local police department’s guidance before enabling audio capture on any outdoor device.
Why layering your defenses makes every measure more powerful
The most reliable way to deter an opportunistic burglar isn’t one expensive gadget. It’s making your home look like hard work at every single step of approach. That’s the principle behind concentric layers of security: each layer adds time, noise, and visibility to any intrusion attempt, and cumulative deterrence pushes burglars toward easier targets.
Think of it as three rings around your home:
- Outer ring (visibility and landscaping): Clear sightlines, trimmed shrubs, motion lighting, and visible cameras tell a would-be intruder that your property is watched and well-maintained. This is where most opportunists make their decision to walk away.
- Middle ring (entry hardening): Reinforced doors, Grade 1 deadbolts, upgraded strike plates, secured windows, and sliding-door bars make physical entry slow, loud, and difficult. Research consistently shows that entry resistance is the most effective mechanical deterrent.
- Inner ring (detection and response): Alarm systems, interior cameras, and monitored services catch anyone who gets past the first two rings and create an evidence trail.
The order matters. Spending $500 on a camera system before reinforcing a hollow-core door with a $20 strike plate kit is the wrong sequence. Entry hardening first, visibility second, detection third.
Cost-priority at a glance:
- $ (do today): Locking habits, spare-key removal, package management, social media discipline
- $$ (this week): Strike plate upgrade, motion lights, window locks, dowel for sliding doors, landscaping trim
- $$$ (this month or when budget allows): Grade 1 deadbolt upgrades, smart locks, camera system, alarm monitoring
Pro Tip: A yard sign from a monitored alarm service costs almost nothing and works even if you haven’t installed the system yet. Surveys with convicted burglars consistently show that visible signs cause a meaningful share of offenders to choose a different house. Place one near the front door and one near the driveway.
How to run a DIY home security audit in 10 minutes tonight
Run a quick perimeter check this evening. Walk around your home the way a burglar would: look for what’s easy, what’s dark, and what’s hidden. You’ll spot the weak points faster than you expect.
Step-by-step audit checklist:
- Front door: Test the deadbolt. Knock on the door — does it sound solid? Check the strike plate screws. Look for gaps between the door and frame.
- Back door: Often less visible and less reinforced than the front. Same checks apply, plus look for any tools or ladders stored nearby.
- All windows: Test every latch. Check ground-floor and basement windows especially. Look for any that are painted shut (they won’t lock properly).
- Sliding glass doors: Test the factory lock, then try lifting the door slightly. If it moves, add anti-lift brackets.
- Garage: Test the side door (often hollow-core). Check the emergency release cord. Is the door between the garage and the house locked?
- Side gates and fences: Are they latched and locked? Can someone reach over and unlatch from outside?
- Sheds and outbuildings: Are tools, ladders, or bikes secured? A ladder left outside is a gift to anyone targeting upper-floor windows.
- Exterior lighting: Walk the perimeter at dusk. Note every dark corner, unlit path, and shadow near a door or window.
- Landscaping: Look for shrubs taller than two feet near windows or doors. Note any trees with branches that reach the roof or upper windows.
- Wi-Fi and smart devices: Change default passwords on routers, cameras, and smart locks. Enable two-factor authentication where available.
- Key management: Are any spare keys hidden outside? Who has copies? When did you last change the locks after a move or lost key?
Priority matrix:
| Entry Point | Common Vulnerability | Priority | Action |
|---|---|---|---|
| Front door | Weak strike plate, hollow core | Immediate | Reinforce strike plate; test deadbolt |
| Back door | Often hollow-core, less visible | Immediate | Add deadbolt; reinforce strike plate |
| Ground-floor windows | Flimsy latches, no secondary lock | This week | Add keyed locks; consider security film |
| Sliding glass doors | Liftable, weak factory lock | Immediate | Dowel in track; anti-lift brackets |
| Garage side door | Often hollow-core, overlooked | This week | Upgrade to solid-core; add deadbolt |
| Side gates | Unlocked or easy to reach over | This week | Add padlock; adjust latch height |
| Exterior lighting | Dark corners near entry points | Immediate | Install motion-activated fixtures |
Save or print this checklist and work through it room by room. Many local police departments also offer free home security assessments — a trained officer will walk your property and give you a written list of recommendations at no cost.
When should you hire a locksmith or security professional?
DIY fixes handle the majority of home security upgrades. But some situations genuinely call for a professional, and knowing the difference saves you both money and frustration.
Call a locksmith or security consultant when:
- A door frame is damaged, warped, or structurally compromised — no strike plate upgrade will hold in a broken frame.
- You’ve moved into a new home and don’t know who has copies of the existing keys.
- A previous break-in attempt has left visible damage to a door, frame, or lock.
- You want a verified, insured installation for a monitored alarm system.
- You’re installing a complex multi-camera system with wired runs through walls.
Questions to ask any security vendor or installer:
- Are you licensed and insured in this state?
- What’s the warranty on parts and labor?
- Does the alarm system use cellular backup, or does it rely on Wi-Fi only? (Wi-Fi can be cut.)
- What’s your false-alarm policy, and are there fines from the local municipality?
- Do I own the programming code for my alarm panel, or is it locked to your company?
- Does my city or county require a permit or registration for a monitored alarm?
- What’s the monitoring contract length, and what are the cancellation terms?
Realistic cost ranges:
- Locksmith rekeying (per lock): $15–$40 for the service call, plus $5–$25 per lock cylinder
- Full lock replacement by a locksmith: $75–$200 per door, depending on hardware
- Monitored alarm system installation: $100–$400 for equipment; $20–$60 per month for monitoring
- Professional camera installation (4-camera system): $400–$1,200 depending on camera type and wiring complexity
DIY now vs. hire later — quick guide:
- DIY now: Strike plate upgrades, deadbolt swaps, window locks, motion lights, sliding-door bars, smart-lock installation, landscaping
- Hire later: Structural door/frame repairs, wired camera systems, full alarm panel installation, rekeying after a move or lost key
The role of tech in home security has expanded significantly, but the best professional installers will tell you the same thing: mechanical reinforcement first, technology second.
Key Takeaways
Inexpensive, habit-based measures — locking consistently, reinforcing entry points, and improving visibility — stop the majority of burglaries before they start, and most can be completed today for under $50.
| Point | Details |
|---|---|
| Lock habits are the foundation | Most burglars exploit unlocked doors and windows; consistent locking costs nothing and stops the majority of attempts. |
| Reinforce entry points first | A reinforced strike plate with 3-inch screws costs under $20 and dramatically increases kick-in resistance. |
| Motion lighting pays for itself | Fixtures at $30–$60 each are among the highest-impact deterrents per dollar spent. |
| Layer defenses in order | Prioritize entry hardening ($), then visibility ($$), then detection/monitoring ($$$). |
| Audit your home tonight | A 10-minute perimeter walkthrough exposes weak points faster than any product purchase. |
Our team’s take on balancing cost and real protection
The security industry has a financial incentive to make you feel like you need a $1,500 monitored system before you’re truly safe. Our team at Lizard’s Lunch respectfully disagrees with that framing.
The evidence points in a different direction. Habit-based measures and mechanical reinforcements deliver more real-world protection per dollar than most subscription services. A $20 strike plate kit and the discipline to lock your doors every single time you leave will protect you better than a camera system you never check. That’s not a knock on technology. It’s a sequencing argument: get the cheap stuff right first, then layer in tech where it genuinely adds value.
What most guides underestimate is the psychological dimension. Visible deterrents — a lit approach, a camera at eye level, a yard sign — work on the decision-making of opportunistic burglars before any physical contact with your home. That’s free or nearly free, and it’s often the layer that matters most.
Our recommendation: start with the audit tonight, fix the immediate vulnerabilities this week, and budget for upgrades over the next month. Check your local police department’s website for free neighborhood assessments and crime mapping tools that show where incidents are actually occurring in your area. And if you’re planning any structural door or window upgrades, consider folding them into a broader home renovation project to maximize both security and resale value.
The goal isn’t a fortress. It’s a home that looks like more trouble than it’s worth.
Authoritative sources and further reading
These resources go deeper on specific topics and are worth bookmarking for ongoing reference.
- Insurance Information Institute — Securing Your Home Against Burglary: A thorough overview of entry-point hardening, lock types, and the insurance premium benefits of security upgrades. Start here if you want a single authoritative reference.
- Callaway Security — How to Burglar Proof Your Home: Detailed technical guidance on strike plates, deadbolts, and door reinforcement, with specific product recommendations and installation notes.
- SecuritySystemsReview.com — Home Burglary Protection: Evidence-based analysis of deterrence science, including the documented effects of lighting and visible signage on burglar decision-making.
- CBS News — 5 Home Security Tips All Homeowners Should Know: A concise practitioner summary covering the concentric-layers principle, landscaping rules, and visible deterrents.
- City of Taylor, MI — General Security Tips for Homeowners: A representative example of the free audit programs many local police departments offer. Search your own city’s police department website for an equivalent local resource.
- The Seattle Times — You Don’t Need an Expensive Security System: A consumer-focused piece reinforcing the core finding: most burglars are opportunists, and inexpensive mechanical fixes outperform costly systems for the average homeowner.
One finding worth keeping front of mind: most burglars are opportunists who enter through unlocked or easily forced entries. The best home safety tips aren’t the most expensive ones. They’re the ones you actually do.














Leave a Comment
Your email address will not be published. Required fields are marked with *