
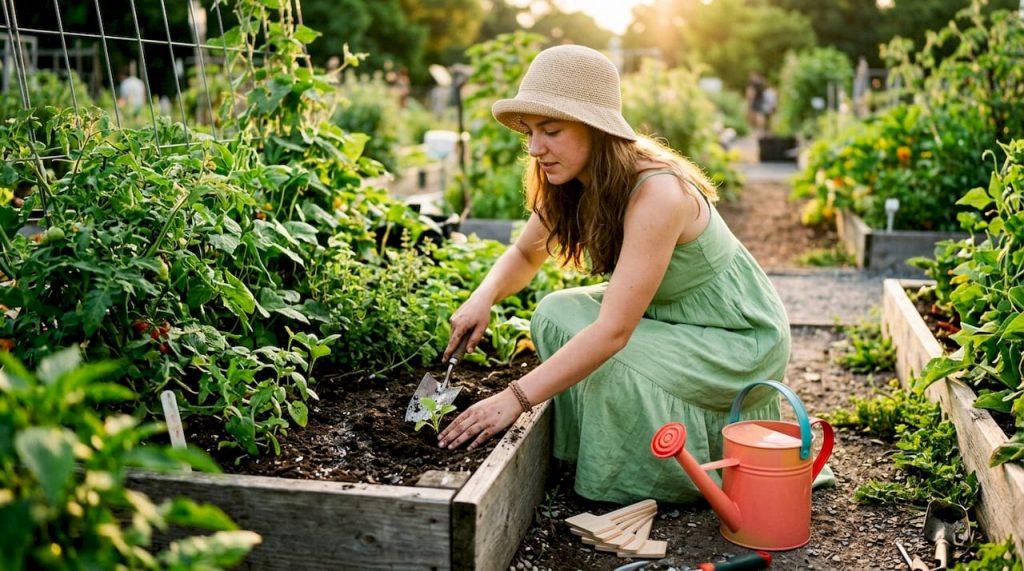
Start your gardening journey with our step by step gardening guide. Learn to create and maintain a thriving garden effortlessly.
A step by step gardening guide is a practical method for starting and maintaining a productive garden, even with zero prior experience. The process covers site selection, soil preparation, planting, and ongoing care in a logical sequence that removes guesswork. Cooperative Extension offices across the United States recommend soil testing as a foundational first step, and most vegetables need 6–8 hours of direct sunlight daily to thrive. Beginners who follow a clear, stepwise approach build confidence through early wins, and a modest 4×4 or 4×8 raised bed requires only 1–5 hours of weekly care. This guide gives you everything you need to grow your first garden with purpose and joy.
What is the step by step gardening guide method?
A stepwise gardening method organizes every decision into a clear sequence so you never feel lost or overwhelmed. Rather than jumping straight to buying plants, you work through location, soil, plant selection, and maintenance in order. Each step builds on the last, which means fewer costly mistakes and faster results. Gardening for beginners becomes far less intimidating when you treat the process like a recipe rather than a guessing game.
The method also sets realistic expectations. A 10×10 foot in-ground plot or a small raised bed is the right starting point, not a sprawling backyard farm. Starting small lets you learn the rhythms of watering, weeding, and pest management without burning out. That foundation of small wins is what turns a nervous first-timer into a confident, enthusiastic grower.
How do you choose the right location for your garden?
Location is the single most important garden decision you will make. Plant selection, soil quality, and watering schedules all matter, but none of them can compensate for a poorly lit or poorly drained spot.
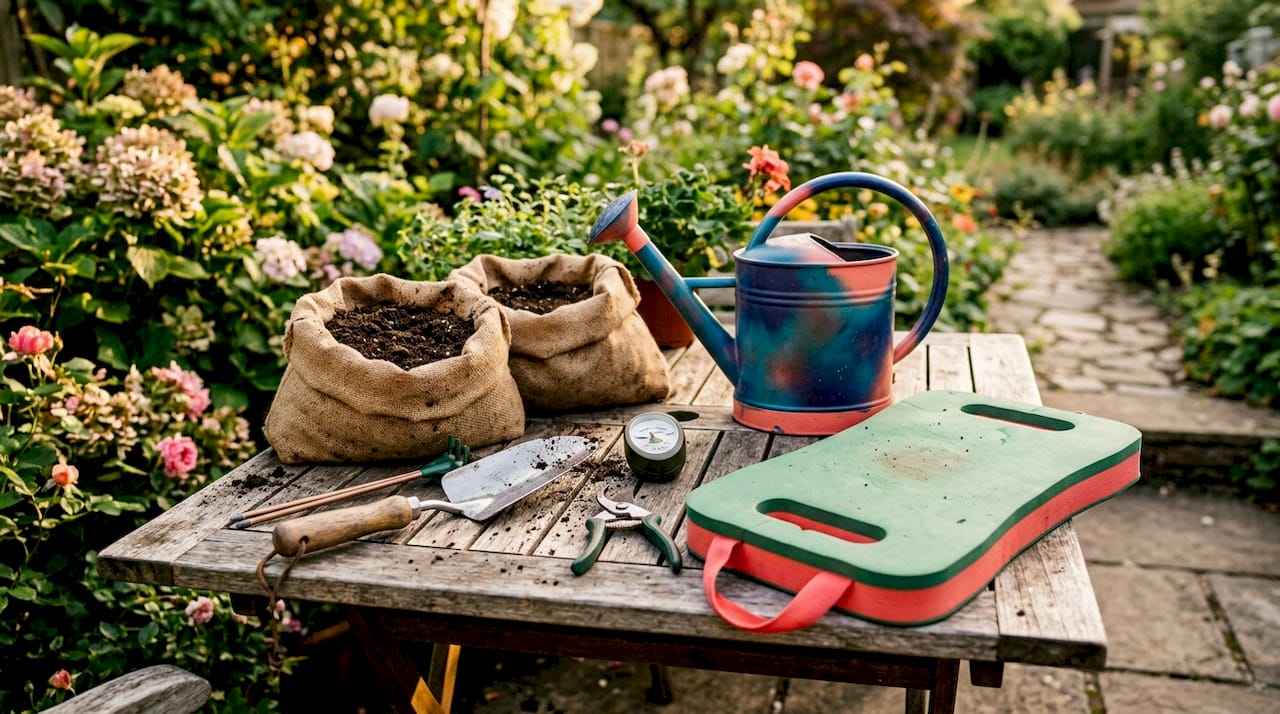
Most vegetable crops need 6–8 hours of direct sunlight every day to produce well. That requirement rules out shaded corners near fences or large trees. A reliable way to confirm sun exposure is to observe your chosen spot at 8 AM, noon, and 4 PM on a clear day. If the area receives full sun at all three check points, it qualifies for the widest range of vegetables, including tomatoes, peppers, and squash.
Beyond sunlight, consider these practical factors:
- Drainage. Water should not pool on the surface for more than 30 minutes after rain. Standing water suffocates roots and invites fungal disease.
- Water access. Place your garden within reach of a hose or irrigation line. Carrying watering cans across a large yard becomes exhausting fast.
- Wind shelter. A spot sheltered by a fence or hedge on the north or west side protects young plants from drying winds without blocking southern sun.
- Foot traffic. Choose a spot you pass daily. Regular visibility means you catch pest problems and dry soil before they become serious.
- Proximity to the kitchen. Herb and salad gardens placed near the back door get harvested more often, which actually encourages more growth.
Pro Tip: Before you break ground, lay your garden hose on the lawn to trace the exact outline of your planned bed. Walk around it, look at it from the house, and adjust the shape before you dig a single inch.
How do you prepare soil for a new garden?
Healthy soil is the foundation of every productive garden. You can plant the best varieties available, but thin, compacted, or nutrient-poor soil will limit your results every single time.
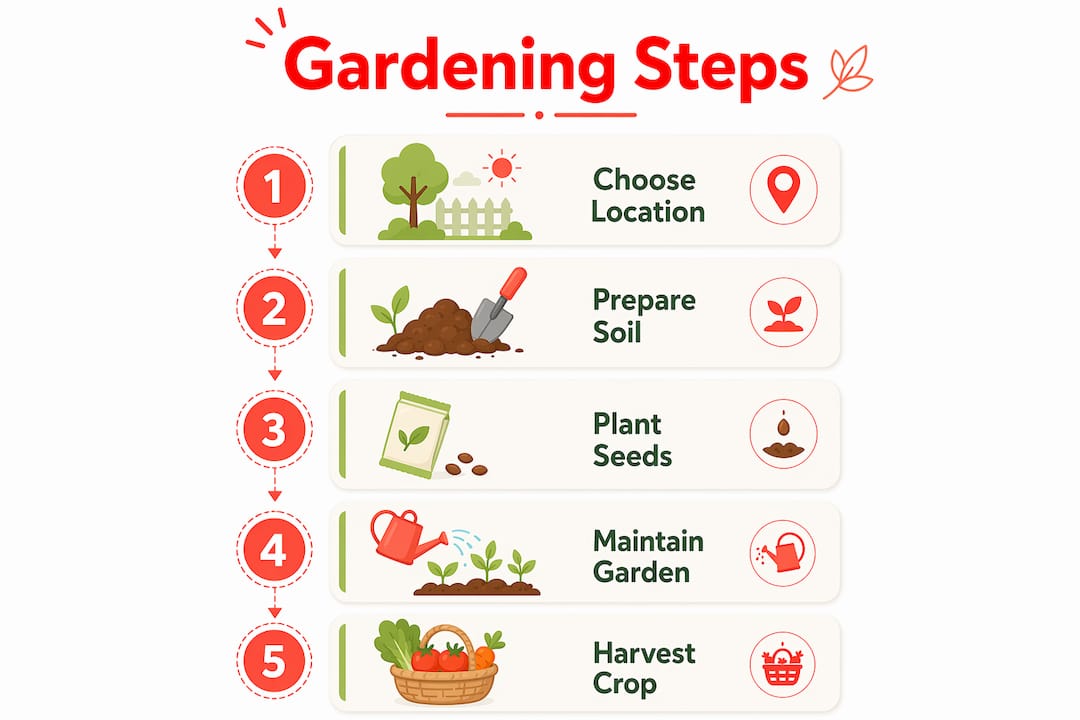
The first step is a soil test. Soil testing costs $15–$30 through your local Cooperative Extension office and returns results within about one week. The test tells you your soil’s pH level and which nutrients are deficient or excessive. That data removes all guesswork from fertilizer decisions and prevents you from adding amendments your soil does not need.
Once you have your results, follow these steps to build a healthy garden foundation:
- Clear the area. Remove existing grass, weeds, and debris. For a low-effort approach, try sheet mulching: lay cardboard directly over the grass, then cover it with 4–6 inches of mulch. Sheet mulching requires a 3–6 month wait before planting, but it kills grass and improves soil structure without chemicals or heavy digging.
- Test for compaction. Push a pencil or screwdriver into the soil. If it stops at 2–3 inches, your soil is compacted and needs aeration. A garden fork worked 8–10 inches deep loosens compacted layers effectively.
- Add compost. Work 2–3 inches of finished compost into the top 8–10 inches of soil. Compost improves drainage in clay soils, boosts water retention in sandy soils, and feeds soil microbes that make nutrients available to plant roots.
- Adjust pH if needed. Most vegetables prefer a pH of 6.0–7.0. Lime raises pH in acidic soils; sulfur lowers it in alkaline soils. Your soil test report will specify exact quantities.
- Rake and level. A flat, even surface makes planting, watering, and mulching much easier.
| Soil issue | Symptom | Amendment |
|---|---|---|
| Low pH (acidic) | Yellowing leaves, poor growth | Add garden lime |
| High pH (alkaline) | Nutrient lockout, pale foliage | Add elemental sulfur |
| Compaction | Water pools, slow drainage | Fork deeply, add compost |
| Low organic matter | Dry, crumbly, pale soil | Work in 2–3 inches of compost |
| Sandy texture | Water drains too fast | Add compost and aged manure |
Pro Tip: Grab a handful of moist soil and squeeze it. If it crumbles when you open your hand, the texture is ideal. If it stays in a tight, slick ball, you have clay-heavy soil that needs significant compost before planting.
What are the best stepwise planting techniques for beginners?
Planting day feels exciting, but it is also where most beginner mistakes happen. Getting the details right from the start saves weeks of frustration.
Start with the right garden size. A 4×4 or 4×8 raised bed is the ideal starting point for most beginners, requiring roughly 1–5 hours of weekly attention. That commitment is manageable alongside a full schedule. Trying to maintain a large plot before you understand your local growing conditions leads to burnout and disappointment.
Choose plants you actually eat. Lettuce, radishes, and bush beans are forgiving, fast-growing, and rewarding. Tomatoes take more patience but deliver enormous satisfaction. Avoid exotic or finicky varieties in your first season. Resilient, well-known cultivars give you the best chance of a harvest you can celebrate.
When it comes to planting holes, dig 2–3 times wider than the root ball but only as deep as the root ball itself. That width encourages roots to spread laterally into loose, amended soil. Planting too deep buries the stem crown and causes rot, which is one of the most common reasons transplants fail.
Key planting day practices to follow:
- Harden off transplants. Nursery plants need gradual exposure to outdoor conditions. Hardening off over 7 days prevents leaf burn and transplant shock. Start with one hour outside on day one, then increase daily exposure until the plant stays out overnight.
- Water immediately after planting. A deep, thorough watering right after transplanting settles the soil around roots and eliminates air pockets.
- Mulch right away. Apply 2–3 inches of straw, wood chips, or shredded leaves around each plant. Mulch holds moisture, moderates soil temperature, and suppresses weeds from the very first day.
- Label everything. A simple wooden stake and a permanent marker saves enormous confusion later, especially when seedlings all look alike.
- Avoid planting in midday heat. Morning or late afternoon planting reduces stress on young plants and gives roots time to settle before the hottest part of the day.
Pro Tip: If you are working with a raised bed, check out the raised garden bed guide at Lizardslunch for sizing and material advice before you build.
How do you maintain a garden week by week?
Consistent, simple maintenance keeps a garden productive all season long. The goal is not perfection. The goal is showing up regularly and catching small problems before they grow.
Watering is the most critical routine task. Deep, infrequent watering two to three times per week outperforms daily shallow watering every time. Deep watering encourages roots to grow downward, making plants more drought-tolerant. Always water the soil directly, not the leaves. Wet foliage invites fungal disease, especially in warm, humid conditions. Early morning is the best time to water because the soil absorbs moisture before midday heat causes evaporation.
A practical weekly and monthly maintenance schedule looks like this:
- Daily (2 minutes). Walk through the garden and scan for wilting, yellowing, or pest damage. Early detection is the fastest path to a solution.
- Every 2–3 days. Water deeply at the soil level. Check mulch coverage and top up any thin spots.
- Weekly. Pull weeds before they set seed. Inspect the undersides of leaves for aphids, caterpillar eggs, and spider mites. Most pest problems are easy to manage when caught early.
- Every 2 weeks. Side-dress heavy feeders like tomatoes and squash with a thin layer of compost or a balanced organic fertilizer. These plants pull large amounts of nutrients from the soil throughout the season.
- Monthly. Train climbing plants like beans and cucumbers onto their supports. Remove dead or diseased foliage. Review what is working and what needs adjustment.
Mulch does a remarkable amount of work between your visits. A 2–3 inch layer cuts watering frequency, suppresses weeds, and keeps soil temperature stable. For year-round maintenance strategies, the garden thriving year-round guide at Stacyknows offers practical seasonal advice that pairs well with these weekly routines.
The psychological side of maintenance matters too. Focusing on five plants well beats managing twenty plants poorly. Starting small and limiting plant selections builds the kind of confidence that makes gardening a lasting hobby rather than a short-lived experiment.
What are the most common beginner gardening mistakes?
Most beginner gardeners fail not because of bad luck but because of a handful of predictable, avoidable mistakes. Knowing them in advance puts you well ahead of the curve.
Common errors that derail first-time gardeners:
- Planting too early. Putting warm-season crops like tomatoes and peppers in the ground before the last frost date kills them overnight. Check your local frost dates through the USDA Plant Hardiness Zone Map before you plant anything.
- Planting too deep. Burying a stem crown causes rot. The top of the root ball should sit level with the surrounding soil surface.
- Overwatering. More plants die from overwatering than from drought. Soggy soil suffocates roots. Always check soil moisture 2 inches below the surface before watering.
- Doing too much too fast. Trying to do too much too quickly is one of the most common beginner mistakes. A small, well-tended garden produces more joy and food than a large, neglected one.
- Gardening in midday heat. Avoid working in the garden between 11 AM and 2 PM during summer. That window stresses both you and your plants. Early morning or evening sessions are far more productive.
For perennial plants like asparagus, rhubarb, and berry bushes, apply what experienced growers call the three-year rule: year one for establishment, year two for growth, year three for harvest. Expecting a full crop in year one leads to disappointment and premature abandonment.
“The garden is a mirror of the gardener. Start small, tend it well, and it will show you exactly what you are capable of.”
Keeping a simple garden journal transforms mistakes into lessons. Record planting dates, spacing, watering frequency, pest incidents, and harvest results. After one full season, that journal becomes your most valuable gardening tool. You will know which varieties performed, which spots get the most sun, and which pests appear in which months.
Pro Tip: Use a free notes app on your phone to snap photos alongside written notes. A photo of a pest or disease symptom is far easier to diagnose later than a written description alone.
Key Takeaways
A successful garden starts with the right location, healthy soil, and a small, manageable planting area that builds your skills and confidence season by season.
| Point | Details |
|---|---|
| Choose sunlight first | Select a spot with 6–8 hours of direct sun, confirmed at 8 AM, noon, and 4 PM. |
| Test your soil | A $15–$30 soil test through a Cooperative Extension office removes all fertilizer guesswork. |
| Start with a small bed | A 4×4 or 4×8 raised bed requires only 1–5 hours weekly and builds skills fast. |
| Harden off transplants | Gradually expose nursery plants to outdoor conditions over 7 days to prevent shock. |
| Water deep, not often | Water soil directly 2–3 times per week in the morning to prevent disease and build strong roots. |
What our team has learned about beginner gardening success
Our team at Lizard’s Lunch has spent time reviewing what actually separates gardeners who thrive in their first season from those who give up by midsummer. The answer is almost never about talent or knowledge. It comes down to one thing: starting smaller than feels necessary.
Most beginners look at a 10×10 plot and think it looks modest. Then July arrives, the weeds take over, the tomatoes need staking, and the zucchini has gone from seedling to the size of a baseball bat overnight. The garden stops feeling like a hobby and starts feeling like a chore. That shift in feeling is what ends most first-season gardens.
The counter-intuitive truth is that soil health matters more than plant selection. We have seen gardeners buy premium heirloom seeds, plant them in compacted, untested soil, and wonder why the harvest is thin. Meanwhile, a gardener who spent $20 on a soil test, added compost, and planted basic varieties from the hardware store walked away with armfuls of produce. The soil is where the real work happens.
Our honest recommendation is this: pick three plants you love to eat, prepare the soil properly, and give those three plants your full attention. By the end of the season, you will understand watering, pest cycles, and harvest timing in a way that no article can fully teach. That lived experience is what makes the second season genuinely exciting. Gardening is not a project you complete. It is a practice you build, one season at a time.
— Our team at Lizard’s Lunch
Bring your outdoor space to life with Lizard’s Lunch
A thriving garden is just the beginning of what your outdoor space can become. At Lizard’s Lunch, we cover the full picture of home and garden improvement, from building the perfect raised beds to redesigning your entire backyard. If you are ready to take your outdoor space further, the home renovation ideas guide at Lizard’s Lunch shows how targeted upgrades add real character and value to your property. For broader inspiration, the garden improvement ideas collection offers practical design tips that complement everything you have learned in this guide. Your garden and your home work best when they grow together.
FAQ
What is the best garden size for a first-time gardener?
A 4×4 or 4×8 foot raised bed is the best starting size for beginners. It requires only 1–5 hours of weekly care and gives you enough space to grow a meaningful harvest without becoming unmanageable.
How much does a soil test cost and where do I get one?
A soil test costs $15–$30 and takes about one week through your local Cooperative Extension office. The results tell you your soil’s pH and which nutrients need adjusting before you plant.
How many hours of sunlight does a vegetable garden need?
Most vegetables need 6–8 hours of direct sunlight daily. Confirm your site by observing it at 8 AM, noon, and 4 PM on a sunny day to verify consistent exposure.
What does hardening off mean and why does it matter?
Hardening off is the process of gradually exposing nursery transplants to outdoor conditions over 7 days. Skipping this step causes leaf burn and transplant shock, which stunts growth or kills young plants.
What is the most common mistake beginner gardeners make?
Trying to grow too much too soon is the most common beginner mistake. A small, well-maintained garden produces better results and builds more confidence than a large, neglected one.


















Leave a Comment
Your email address will not be published. Required fields are marked with *