
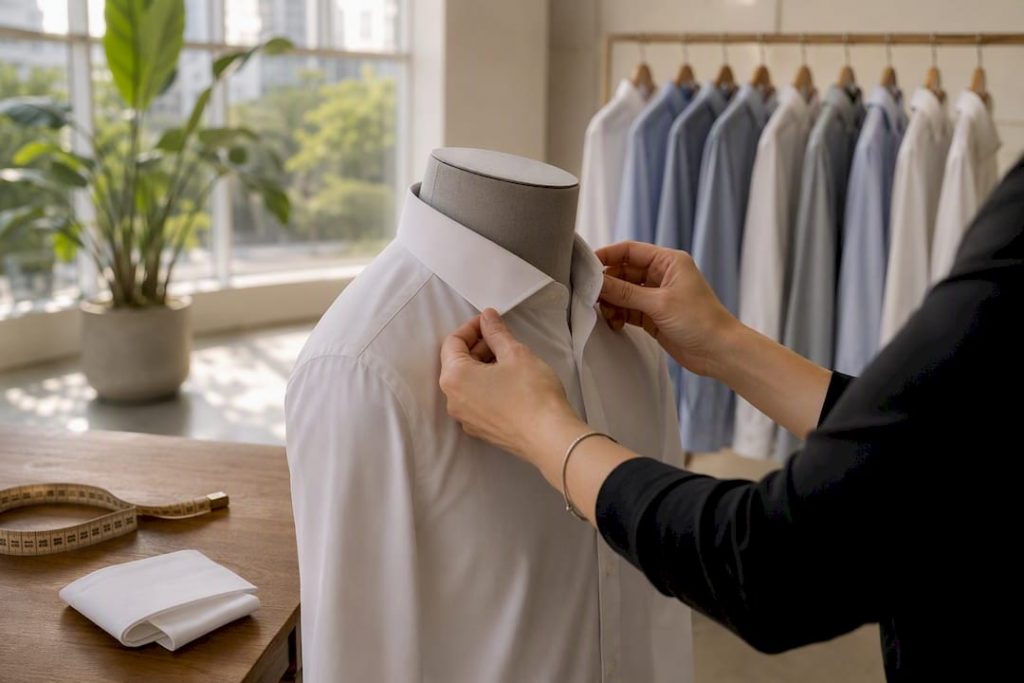
Use a measurement first routine and five quick checks for collar, shoulders, chest, sleeves, and hem. Judge dress shirt fit in five minutes and avoid returns.
A dress shirt fits correctly when the collar allows 1 to 2 fingers at the neck, the shoulder seams sit right at the natural shoulder edge, the chest lies flat without pulling at the buttons, the cuffs land at the wrist bone, and the hem stays tucked through a full range of movement. Every other rule in this guide exists to help you test those five points.
TL;DR:
- Shoulder seam placement is the most critical measurement, as it cannot be fixed later and must sit exactly at the natural shoulder edge.
- Collar fit should accommodate two fingers comfortably without pinching or gaps, and collar size should match the base of your neck measured with a tape.
- Most men wear shirts one to two sizes too large, with excess fabric at the sides and waist, making pinching tests essential to find the proper fit.
- Sleeve length should end near the wrist bone with cuffs that stay snug but slide two fingers underneath, and off-the-rack sleeves should be bought longer if in between sizes.
- Shirts intended to be tucked need sufficient length to stay below the belt, especially when raising arms, while untucked shirts should sit at or just below the hips with a straight or curved hem.
Table of Contents
- Dress Shirt Fit Guide: Getting the Collar Right
- Why Shoulder Seam Placement Makes or Breaks a Shirt
- Chest and Torso Fit: How Much Ease Is Too Much?
- Getting Sleeve Length and Cuff Fit Exactly Right
- Should a Dress Shirt Be Tucked or Untucked?
- How to Measure Yourself for an Accurate Dress Shirt Size Chart
- Slim, Tapered, or Regular: Which Dress Shirt Fit Type Fits You?
- What a Tailor Can Fix and What You Should Just Size Differently
- The Five-Minute Dress Shirt Fit Test
- Our Team at Lizard’s Lunch on Getting Fit Right the First Time
- Why Most Fit Advice Skips the Part That Actually Matters
- Sources
Dress Shirt Fit Guide: Getting the Collar Right
The collar is the fastest way to spot a bad fit, and it takes ten seconds to check. Button the top button and slide two fingers between your neck and the fabric. Both fingers should fit with light resistance, not room to spare and not a struggle to squeeze them in.
To measure your neck size directly, wrap a tape measure around the base of your neck where a collar naturally sits, keeping one finger between the tape and your skin. That number, rounded to the nearest half inch, is your collar size. A properly fitted collar should never pinch, and anything looser than two fingers usually signals you sized up unnecessarily.
Watch for these warning signs:
- Red marks or indentation on your neck after a few hours mean the collar is too tight.
- A gap you can see in a mirror when the shirt is buttoned means it’s too loose.
- If a shirt fit fine last year but now pinches, check the fabric. Cotton without a pre-shrink treatment can lose up to half a size after repeated washing, so factor that into sizing before you buy.
- In humid climates or hot offices, a small percentage of stretch fabric in the collar keeps things comfortable without feeling loose, similar to how certain tshirts combine fabric blends for comfort and stretch.
If you’re between sizes, size up on the collar and let a tailor take in the rest. A collar that’s too small is unfixable without replacing the shirt entirely.
Why Shoulder Seam Placement Makes or Breaks a Shirt
Shoulders are the one measurement you cannot fix later, which makes this the most important check in the entire fitting process. Find the natural edge of your shoulder, the bony point where your arm meets your torso, and that’s exactly where the seam should sit.
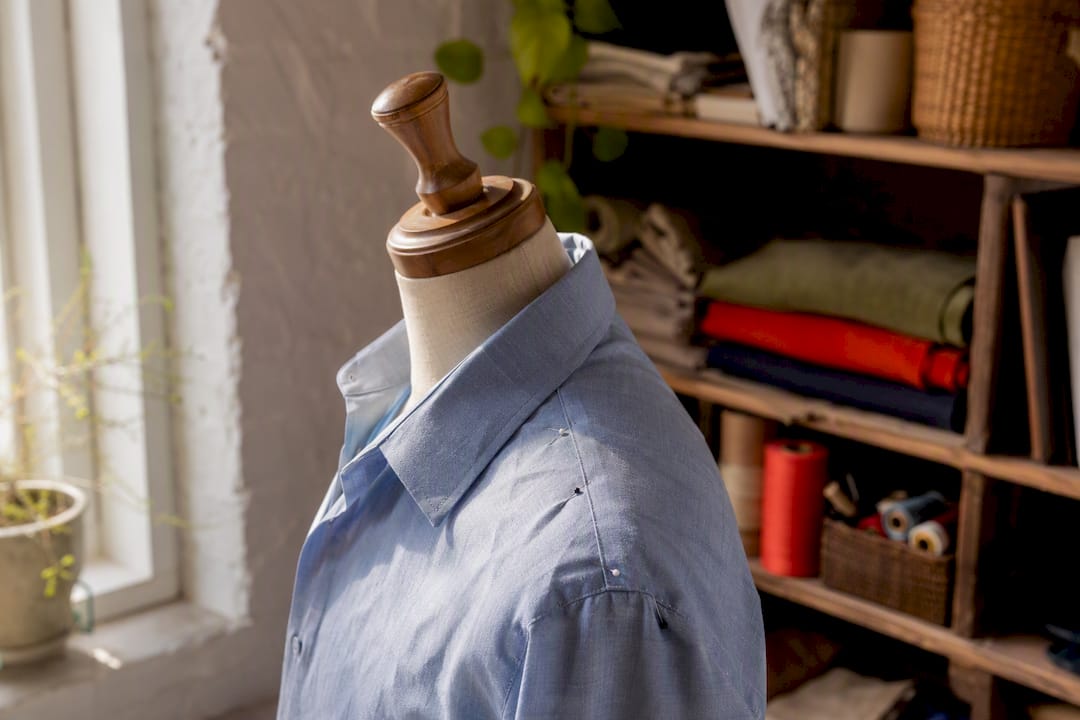
A seam that droops down your arm means the shirt is too big. A seam that creeps up toward your neck, creating a puckered look, means it’s too small. Either way, the shoulder seam is the clearest visual signal of a shirt that doesn’t match your frame, and it’s usually visible in a photo even when the rest of the shirt looks fine.
A few things happen when shoulder fit is off:
- Oversized shoulders make your whole upper body look smaller and less defined.
- Undersized shoulders restrict how high you can raise your arms.
- Both versions age a shirt faster because stress points wear unevenly.
Pro Tip: Shop by shoulder width first, then collar, then worry about the waist last. Tailors can take in a torso in twenty minutes. They cannot move a shoulder seam without rebuilding the shirt.
Chest and Torso Fit: How Much Ease Is Too Much?
Button the shirt fully and look for horizontal pulling between the buttons, especially at the chest and just above the waistband. Any visible strain or gapping between buttons means the shirt is too small for your torso, full stop.
On the other end, most men actually wear shirts one to two sizes too large, which shows up as billowing fabric at the sides and waist. A well-fitted shirt follows your body’s natural taper without clinging to it. Try the pinch test: grab the excess fabric at your sides while the shirt is tucked in. If you can pinch more than about two inches of slack, the shirt is too loose through the torso.
A few practical notes:
- Darts and side seams create the tapered shape that keeps a shirt close to the body without restricting movement.
- If the shoulders and collar fit but the torso billows, a tailor can take in the sides in one visit.
- If buttons strain across the chest but the shoulders fit, you need a bigger size or a fuller cut, not a tailor.
- To keep a shirt tucked through the day, look for a shirttail with enough length and a slight curve at the hip that anchors it in place.
Getting Sleeve Length and Cuff Fit Exactly Right
Sleeve length has one hard rule: with your arm relaxed at your side, the cuff should end near the base of your wrist bone, not covering your hand and not riding up your forearm. If you wear a jacket regularly, aim for about half an inch of shirt cuff showing beyond the jacket sleeve when your arms hang naturally.
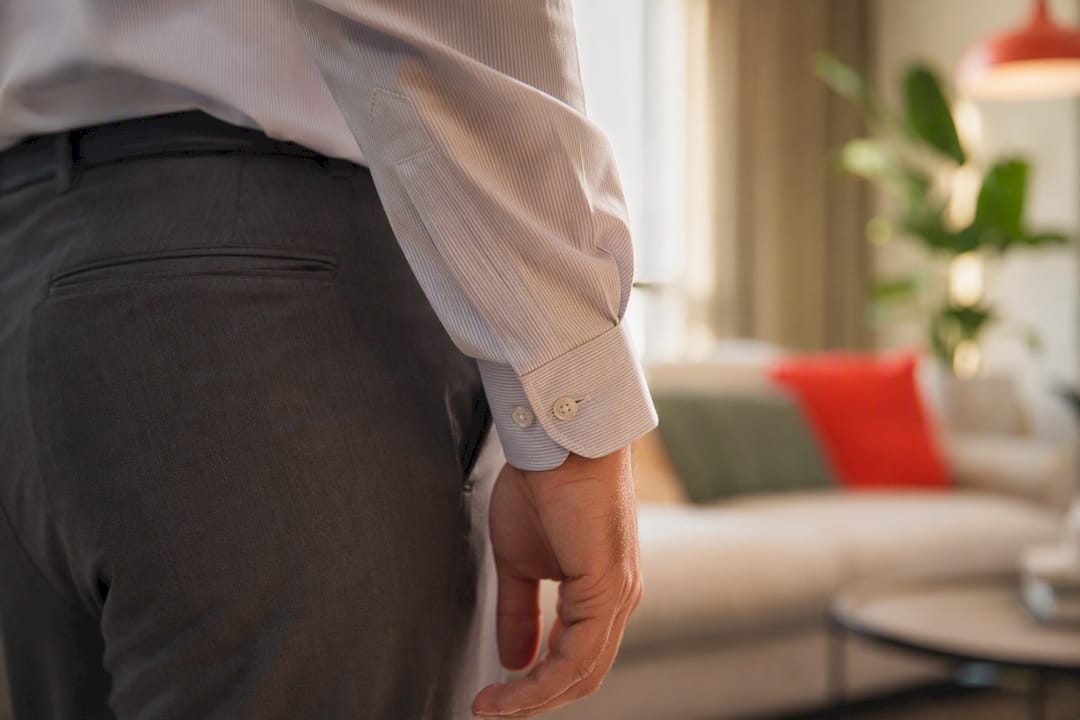
Cuffs themselves should be snug enough to stay closed on their own but loose enough to slide two fingers underneath. If you wear a watch, make sure the cuff clears the watch face comfortably when buttoned, since a cuff that fights your watch all day gets uncomfortable fast.
Common sleeve problems and fixes:
- Fabric bunching at the elbow when your arm is bent usually means the sleeve is cut too long or too full.
- A sleeve that twists around your arm points to poor sleeve pitch, the angle at which the sleeve attaches to the shoulder, and that’s a tailoring job or a brand switch.
- Sleeves that ride up when you reach forward are too short and can’t be lengthened.
Pro Tip: Off-the-rack sleeves usually come in half-inch increments, so if your arm measures between sizes, buy the longer option and have it hemmed. A tailor can always shorten a sleeve. Nobody can add fabric to lengthen one.
Should a Dress Shirt Be Tucked or Untucked?
A shirt meant to be tucked should extend at least a few inches below your beltline even when you raise your arms overhead, since torso movement pulls fabric upward all day. If it rides up above your waistband during normal activity, the shirt is too short for tucked wear regardless of how well everything else fits.
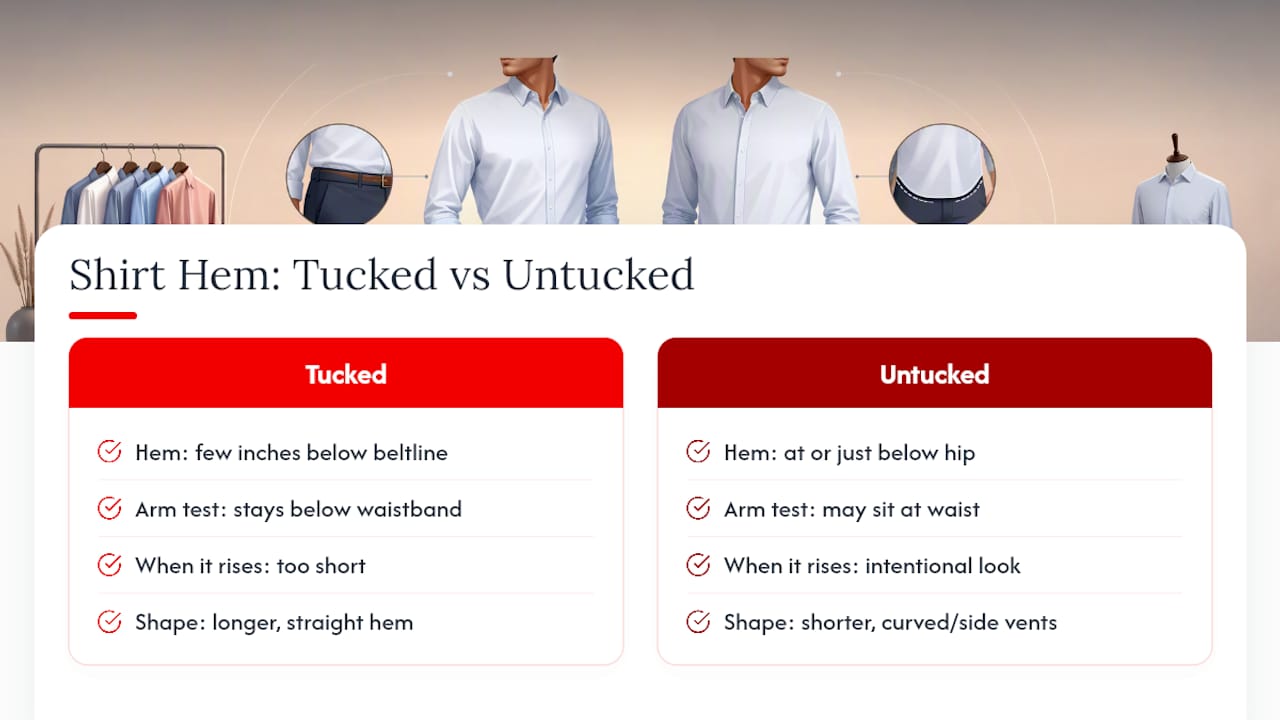
Untucked or casual-cut shirts work differently. They’re typically cut with a straighter, shorter hem that sits at or just below the hip, often with side vents or a curved shirttail designed to look intentional rather than accidental.
To test length before buying, sit down and reach both arms overhead. If your undershirt or skin shows at the waist, size up or choose a longer cut. This one test catches more fit failures than any other single check on this list.
How to Measure Yourself for an Accurate Dress Shirt Size Chart
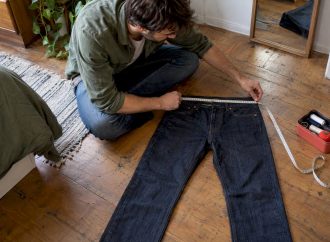
Getting your own numbers right eliminates most guesswork, whether you’re buying in-store or online. Use a soft tape measure and, ideally, have someone help with your back measurements.
- Neck: Wrap the tape around the base of your neck where a collar sits, leaving one finger of space. Round to the nearest half inch.
- Chest: Measure around the fullest part of your chest, under your arms, keeping the tape level front to back.
- Waist: Measure around your natural waistline, roughly at belly button height, not where your pants sit.
- Shoulder width: Measure from one shoulder seam edge to the other across your back, following the natural shoulder line.
- Sleeve length: Use one of two methods. Center-back method: measure from the center of your neck, across the shoulder, down to the wrist bone with your arm slightly bent. Shoulder-seam method: measure from the shoulder seam to the wrist bone. The center-back method tends to be more accurate for online sizing because it accounts for shoulder width automatically.
- Length: Measure from the base of your collar down to where you want the hem to fall.
Write these numbers down and keep them saved on your phone. Sizing varies enough between brands that your “16.5/34” in one label might be a 17/34 in another, so measurements matter more than the size tag itself.
Pro Tip: When buying online without a fit guarantee, compare your measurements against the brand’s specific size chart rather than assuming your usual size carries over. A five-minute comparison saves you a return shipment.
Slim, Tapered, or Regular: Which Dress Shirt Fit Type Fits You?
Fit type comes down to how much ease, extra room built into the fabric, a shirt carries through the chest and waist. A slim fit dress shirt runs close to the body with minimal ease and tends to suit lean or athletic builds best. Regular or classic fit shirts carry more room throughout, which works better for broader builds or anyone who prioritizes comfort over a tailored silhouette. Tapered fit sits between the two, close at the waist with a bit more room through the chest and shoulders.
| Fit type | Best for | Trade-off |
|---|---|---|
| Slim fit | Lean, athletic builds | Less room for movement if cut too tight |
| Tapered fit | Most average builds | Balances shape and comfort |
| Regular fit | Broader or muscular builds | More fabric, less defined silhouette |
Fabric plays a bigger role in slim fits than most men realize. A shirt with a small percentage of stretch fiber woven in moves with your body, which matters most across the shoulders and upper back. Well-engineered armholes and sleeve pitch also improve mobility in closer-cut shirts without sacrificing the tailored look, so a snug shirt doesn’t have to mean a restrictive one. If you’re experimenting with a closer cut for the first time, our fashion styling guide covers how different cuts pair with jackets and trousers.
What a Tailor Can Fix and What You Should Just Size Differently
Some fit problems are a quick tailoring job. Others mean you bought the wrong shirt entirely, and no amount of alteration will save it.
Easy fixes for a tailor:
- Shortening sleeve length
- Taking in the waist and sides for a closer taper
- Shortening the hem for untucked wear
- Adjusting cuff circumference
Hard or impossible to fix:
- Shoulder seam width or placement
- Collar balance (how the collar sits relative to your neck shape)
- Major chest or torso proportion changes that require re-cutting the whole shirt
When you visit a tailor, bring the shirt already buttoned and describe exactly what bothers you, pointing to the fabric rather than describing it verbally. Ask for a quarter-inch adjustment first if you’re unsure. It’s easier to take in more later than to let out fabric that isn’t there.
The Five-Minute Dress Shirt Fit Test
Run through this sequence every time you try on a new shirt, whether it’s in a fitting room or fresh out of a delivery box:
- Button the collar and check for the two-finger gap.
- Look in a mirror and confirm the shoulder seams sit at your shoulder edge.
- Check for button strain or gapping across the chest.
- Extend your arms and confirm the cuffs hit your wrist bone.
- Sit down and reach overhead to see if the hem stays tucked.
If everything passes, buy it. If one or two things are off, decide whether it’s a tailoring fix or a sizing problem based on the list above. Keep a note of which brands and sizes worked so your next purchase takes less time.
Our Team at Lizard’s Lunch on Getting Fit Right the First Time
Our team at Lizard’s Lunch built this guide around the same measurement steps professional fitters use, cross-checked against multiple sizing standards rather than one brand’s chart. Fit isn’t static: cotton shrinks, stretch blends loosen slightly with wear, and a shirt that fit perfectly in September can feel different by January. Retest your go-to shirts after a few wash cycles, especially the collar and sleeve length. Save your measurements, and don’t assume your size carries over between brands, since cut and fabric vary more than most men expect.
Why Most Fit Advice Skips the Part That Actually Matters
The conventional advice on dress shirt fit spends too much time on collar size and not enough on shoulders, and that ordering is backwards. Collar size is easy to get right because it’s a single number on a tape measure. Shoulder fit requires judgment, a mirror, and honesty about how the seam actually sits on your frame, so most guides skip past it or mention it once in passing.
Here’s what the research behind this guide actually supports: buy for shoulders and collar first, because those two are the only measurements you can’t alter after the fact. Everything else, the chest taper, the sleeve length, the hem, can be adjusted by a competent tailor for less than the cost of a new shirt. Men who chase a “slim fit” label without checking sleeve pitch or armhole construction often end up with a shirt that looks sharp standing still and fights them the moment they reach for something. Mobility matters as much as silhouette, and the two aren’t in conflict if the shirt is built well.
If you take one thing from this guide, let it be this: run the five-minute test on every shirt before you commit, and stop assuming your size from one brand transfers to the next.
— Alexander















Leave a Comment
Your email address will not be published. Required fields are marked with *